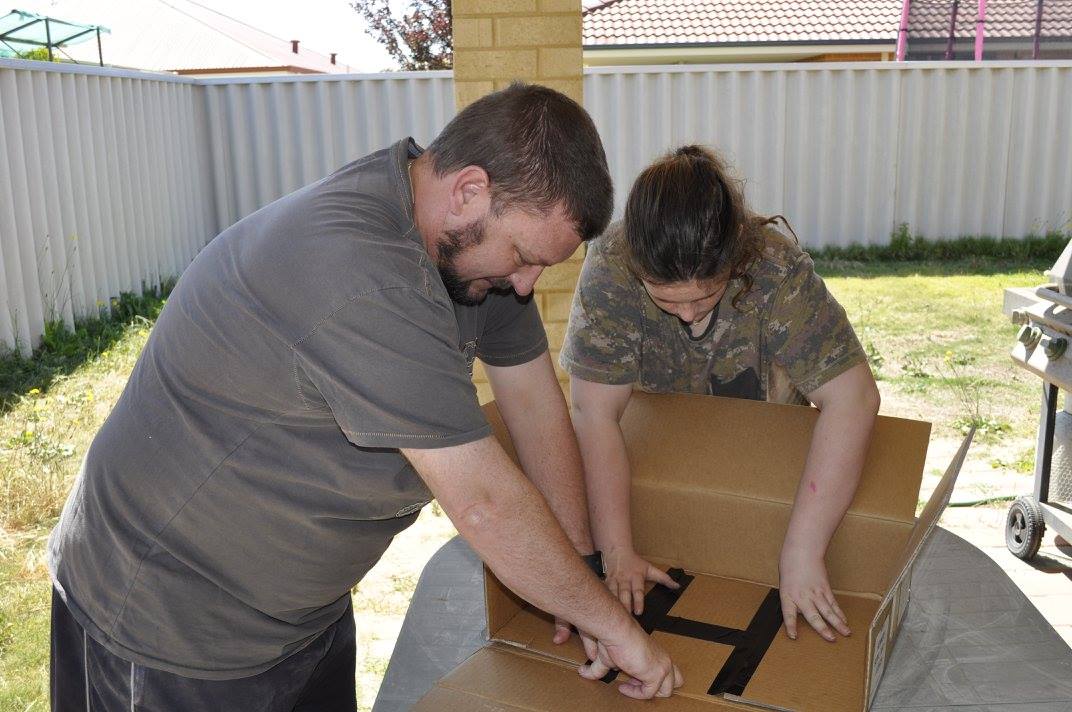
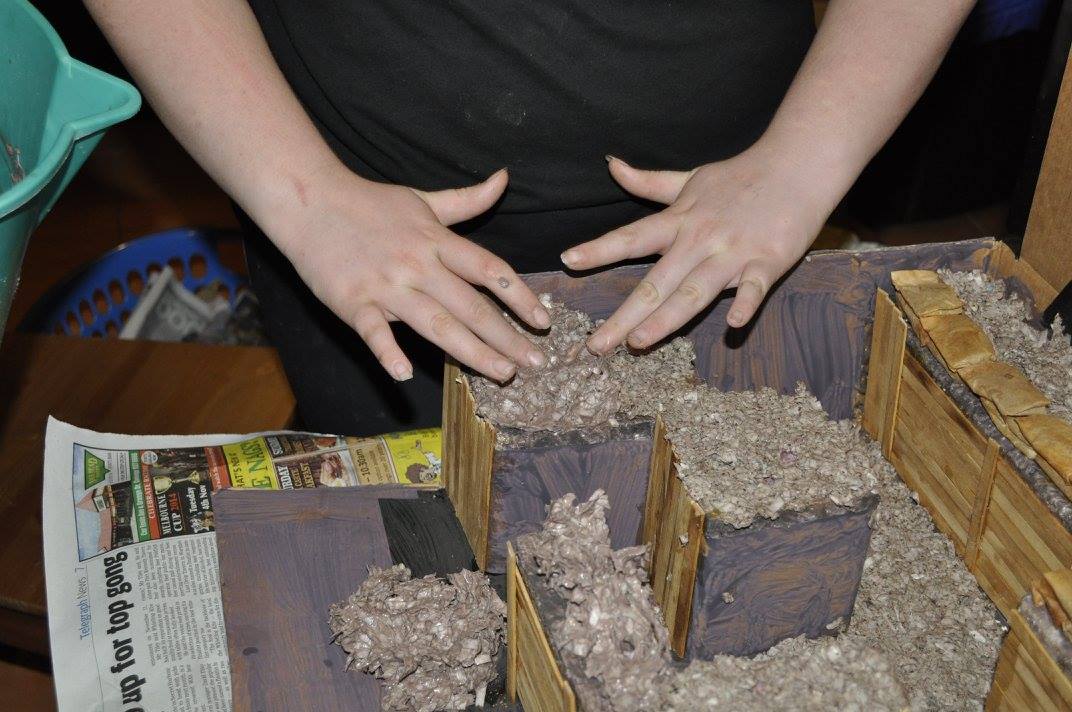
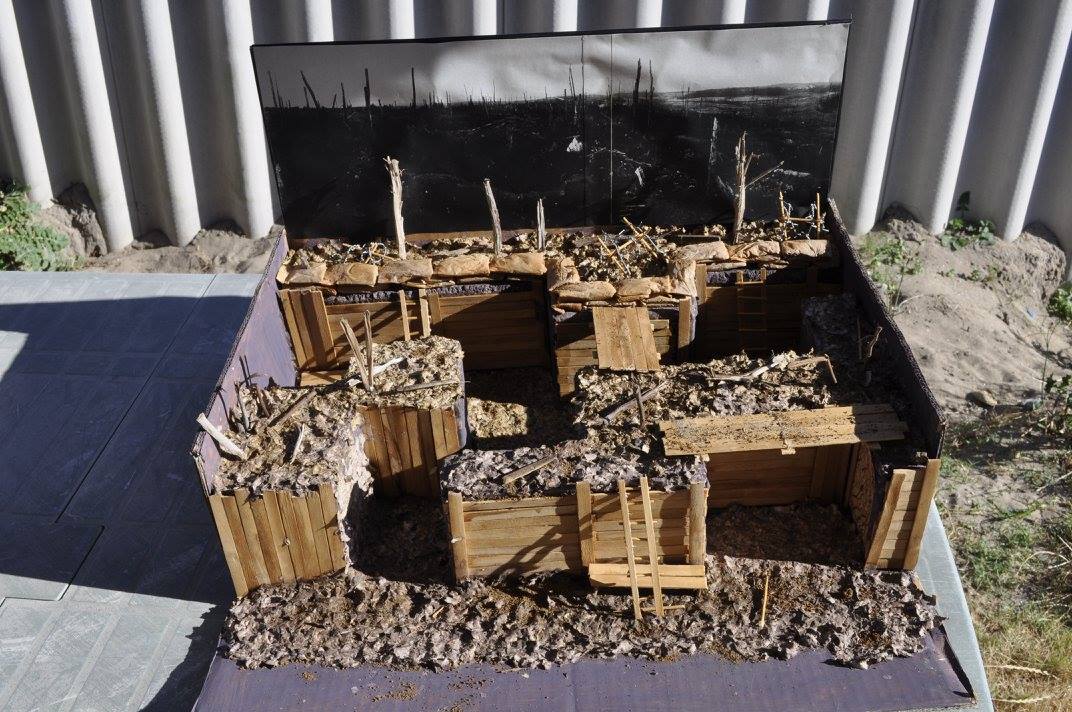
Create a realistic trench system for your next school project.
It's an easy project which could be made over a weekend with the help of an adult. Please read all the instructions first because this will enable you to plan your model for the best results.
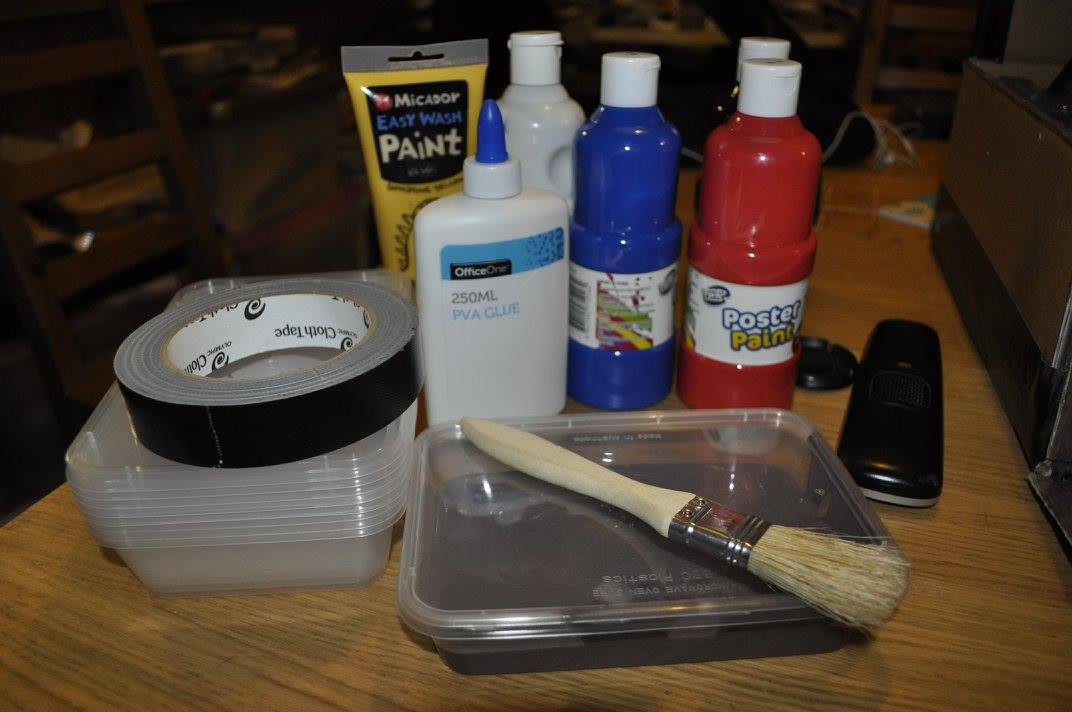
Materials
During the construction of this replica World War 1 trench system, your will need various items commonly found at your local super market or craft shop.
You will need
- Cardboard box
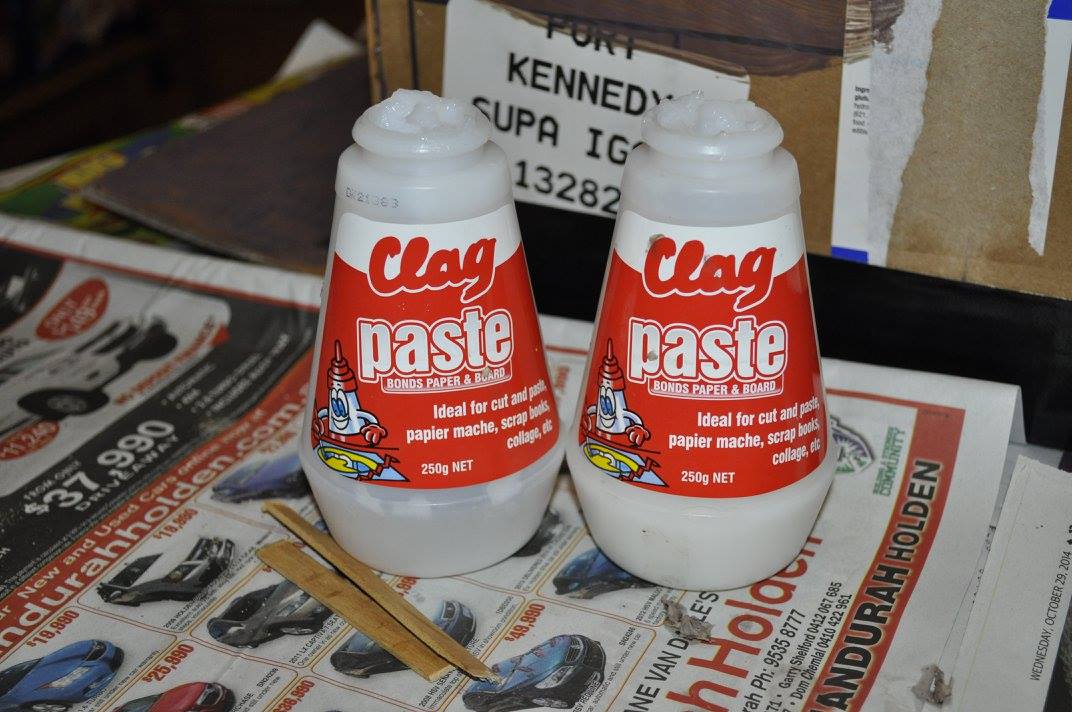
- Clag (craft glue)
- Hot glue gun (Not essential, but it helps)
- Cloth tape (strong)
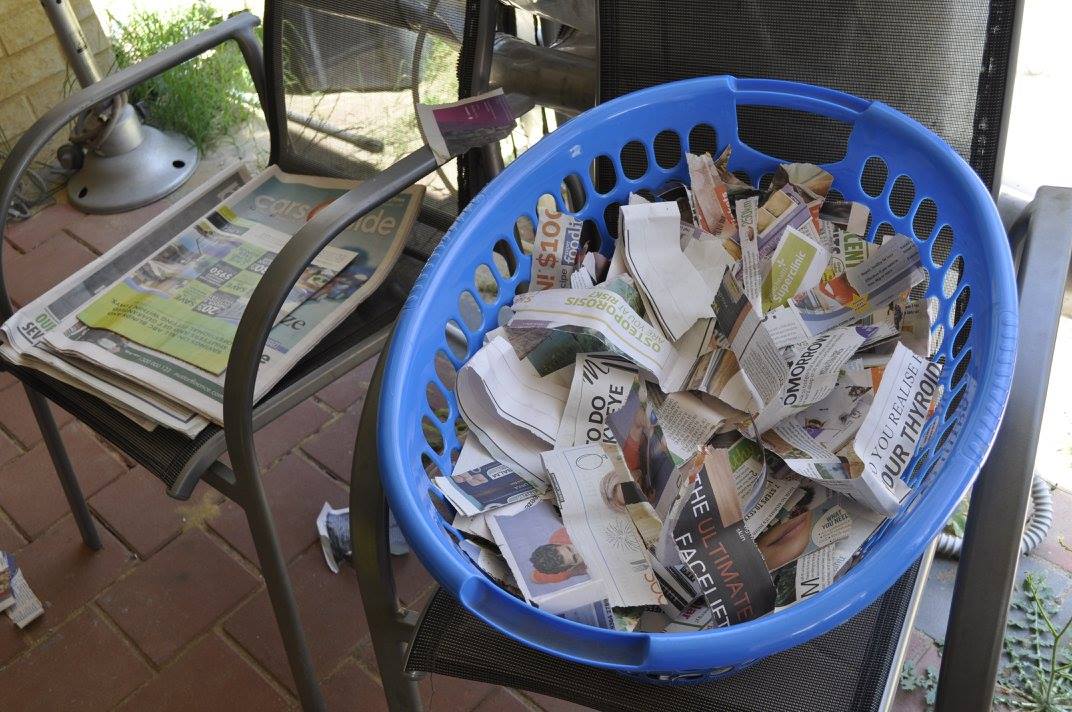
- Newspaper
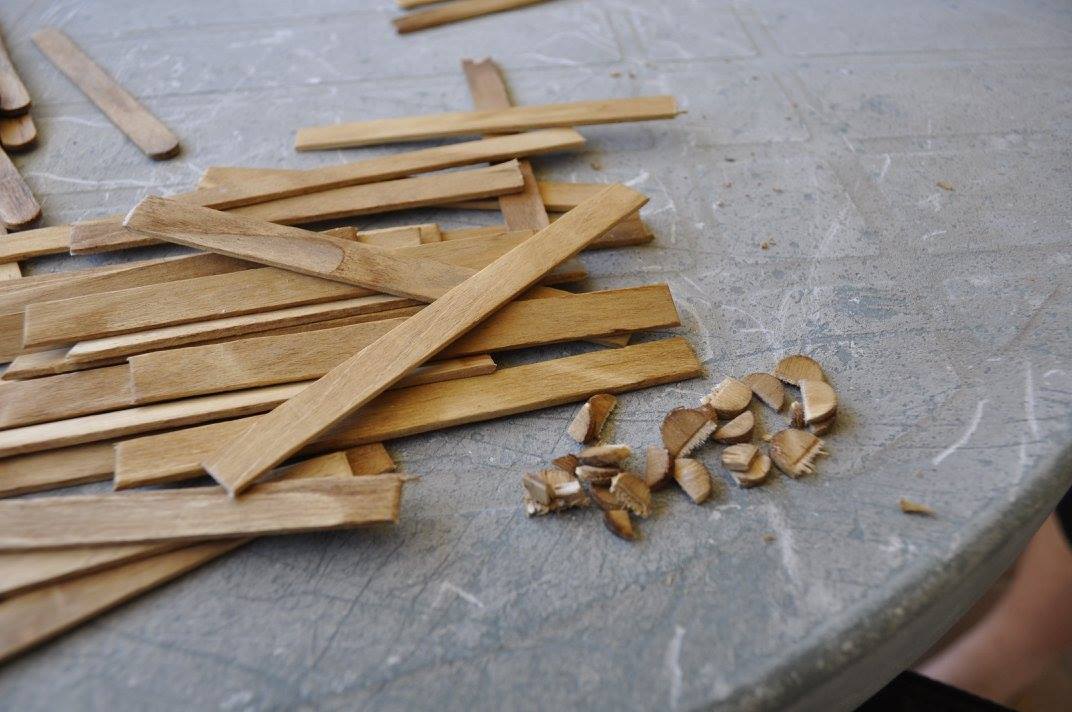
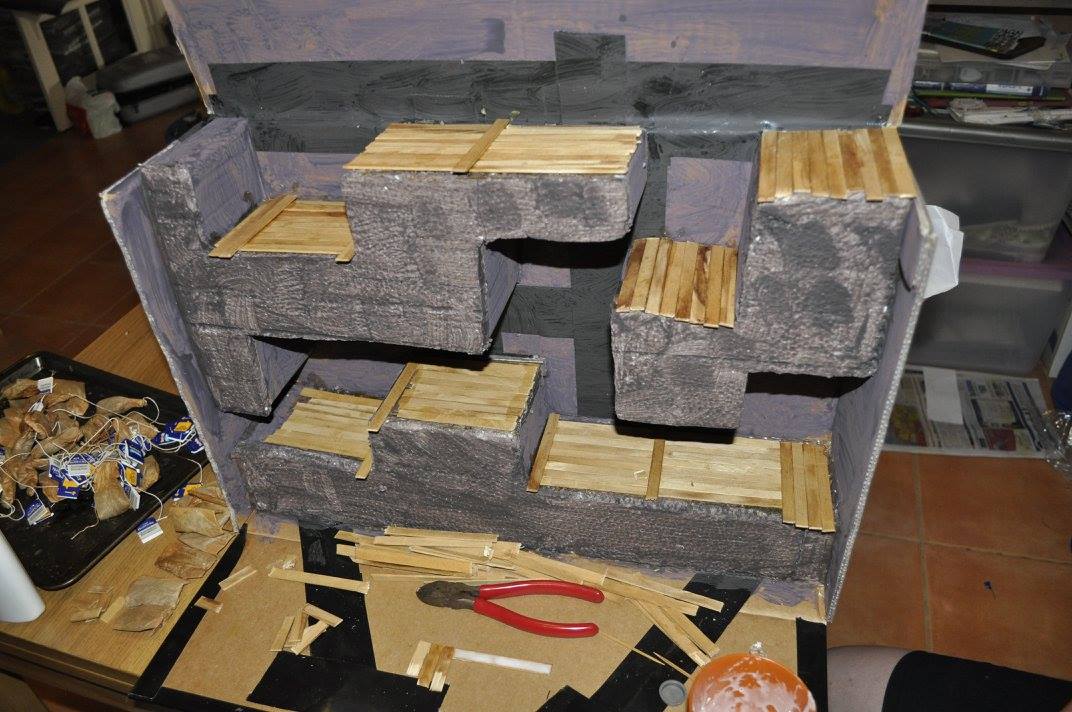
- Paddle pop sticks
- Match sticks
- Toothpicks
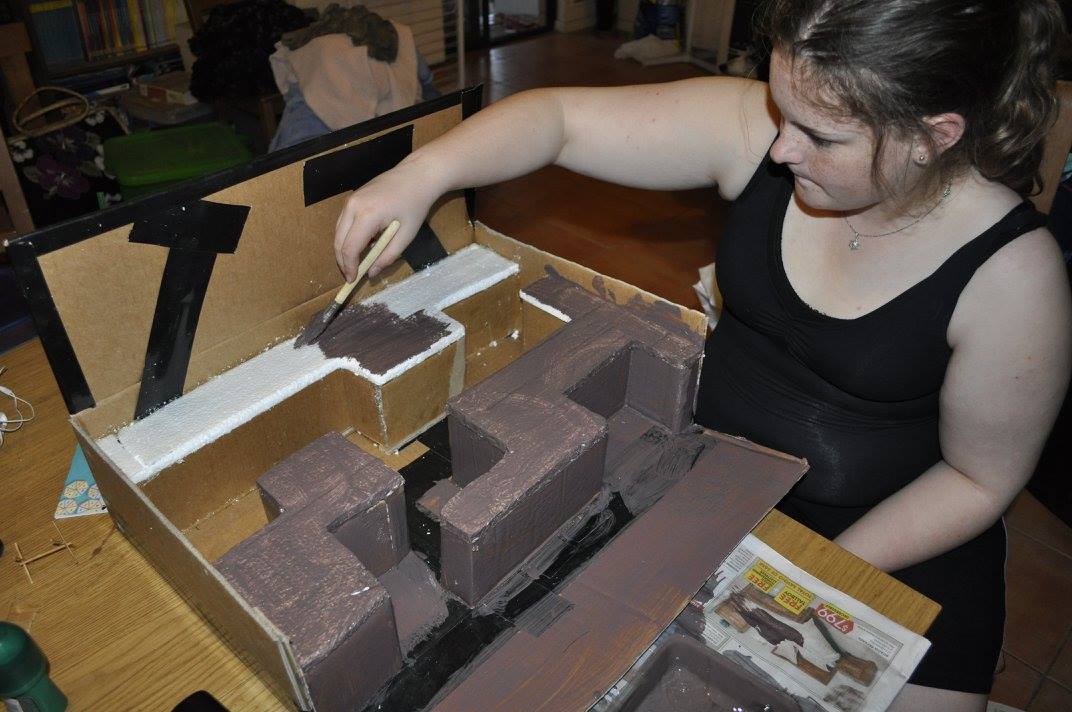
- Paint - to make earthy colours
- Paint - to make burnt colours
- Paint brush (1 small, 1 medium)
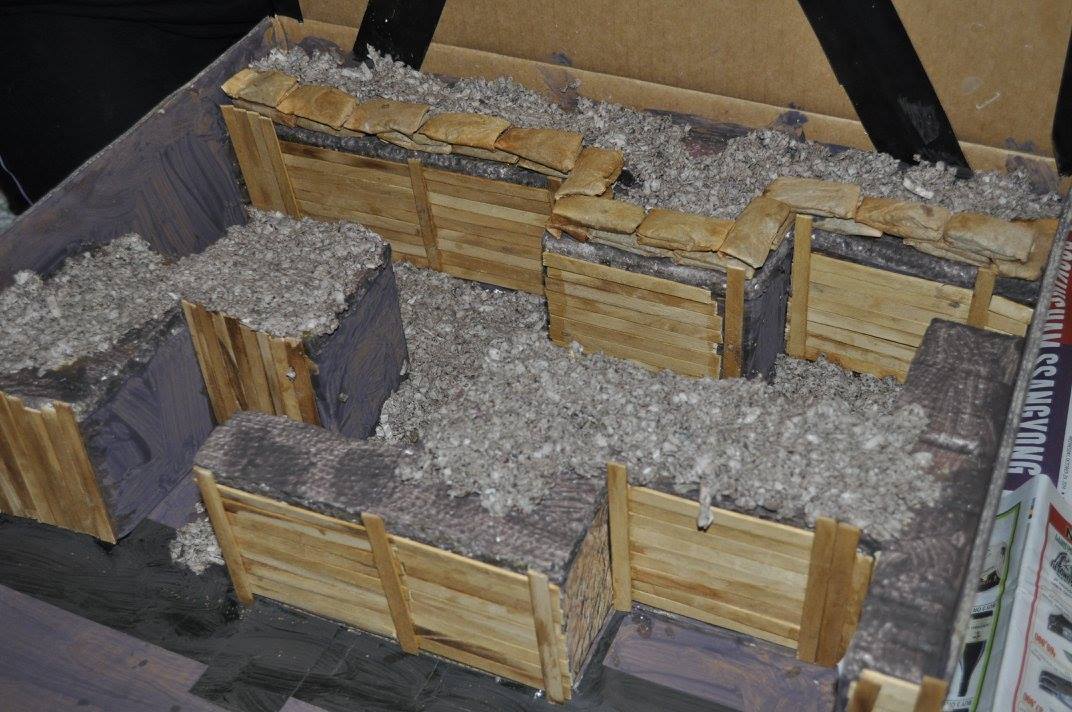
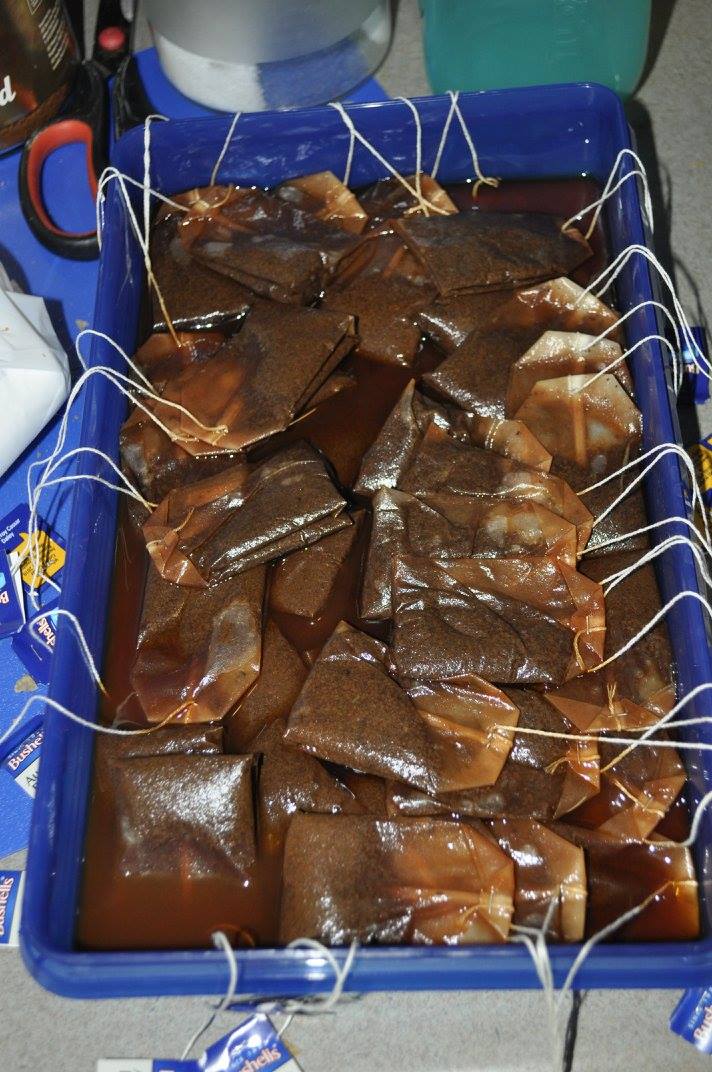
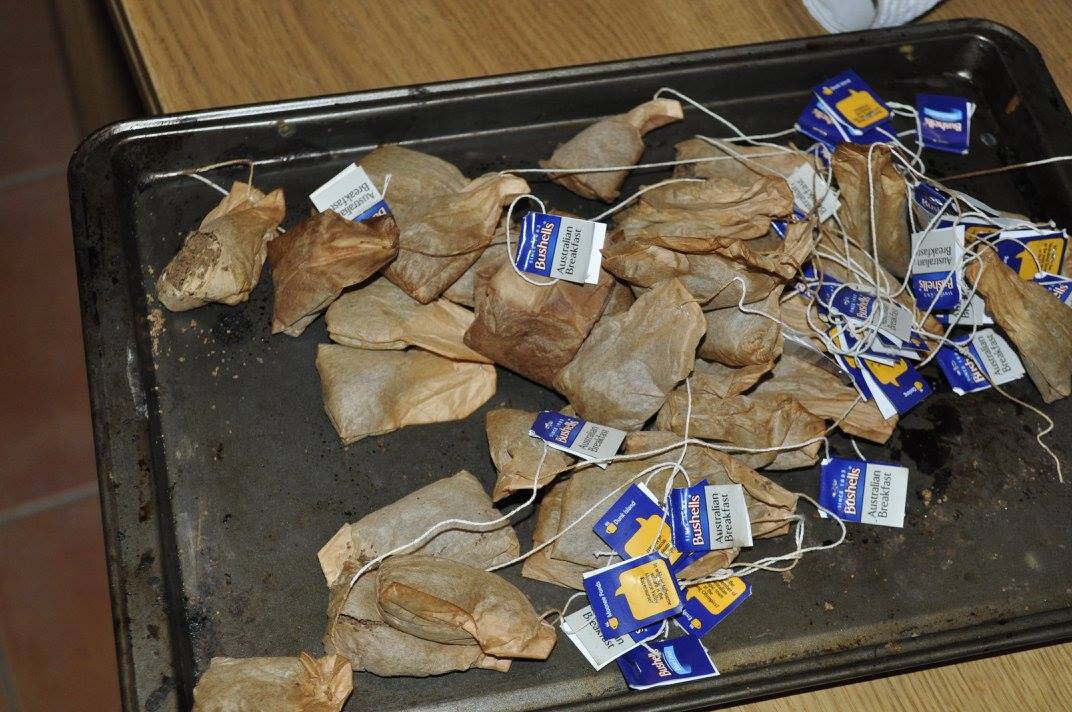
- Teabags
- Styrofoam
- Twigs
- Solder wire
- Plires (Neddlenose)
- Stanley Knife (Utility knife capible of cutting paddle pop sticks)
- Scissors
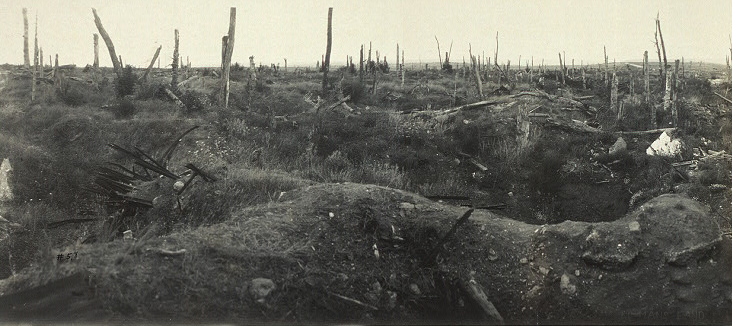
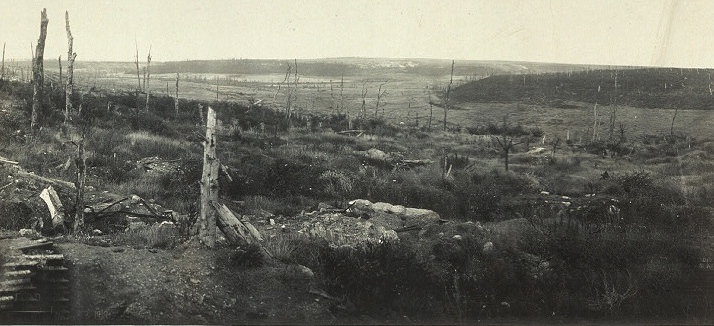
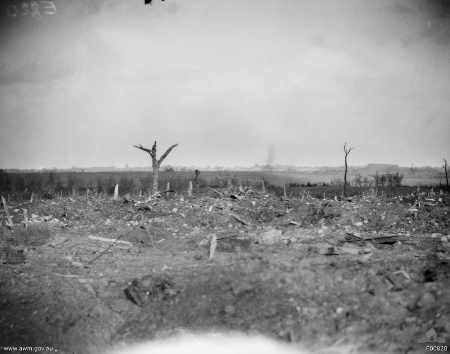
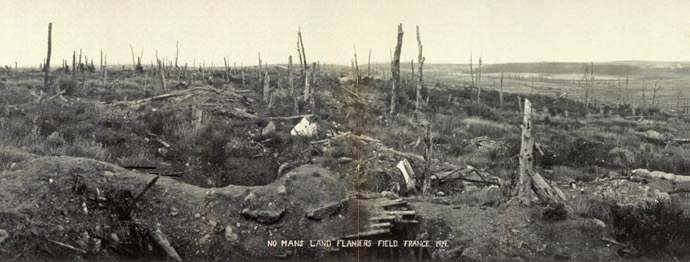
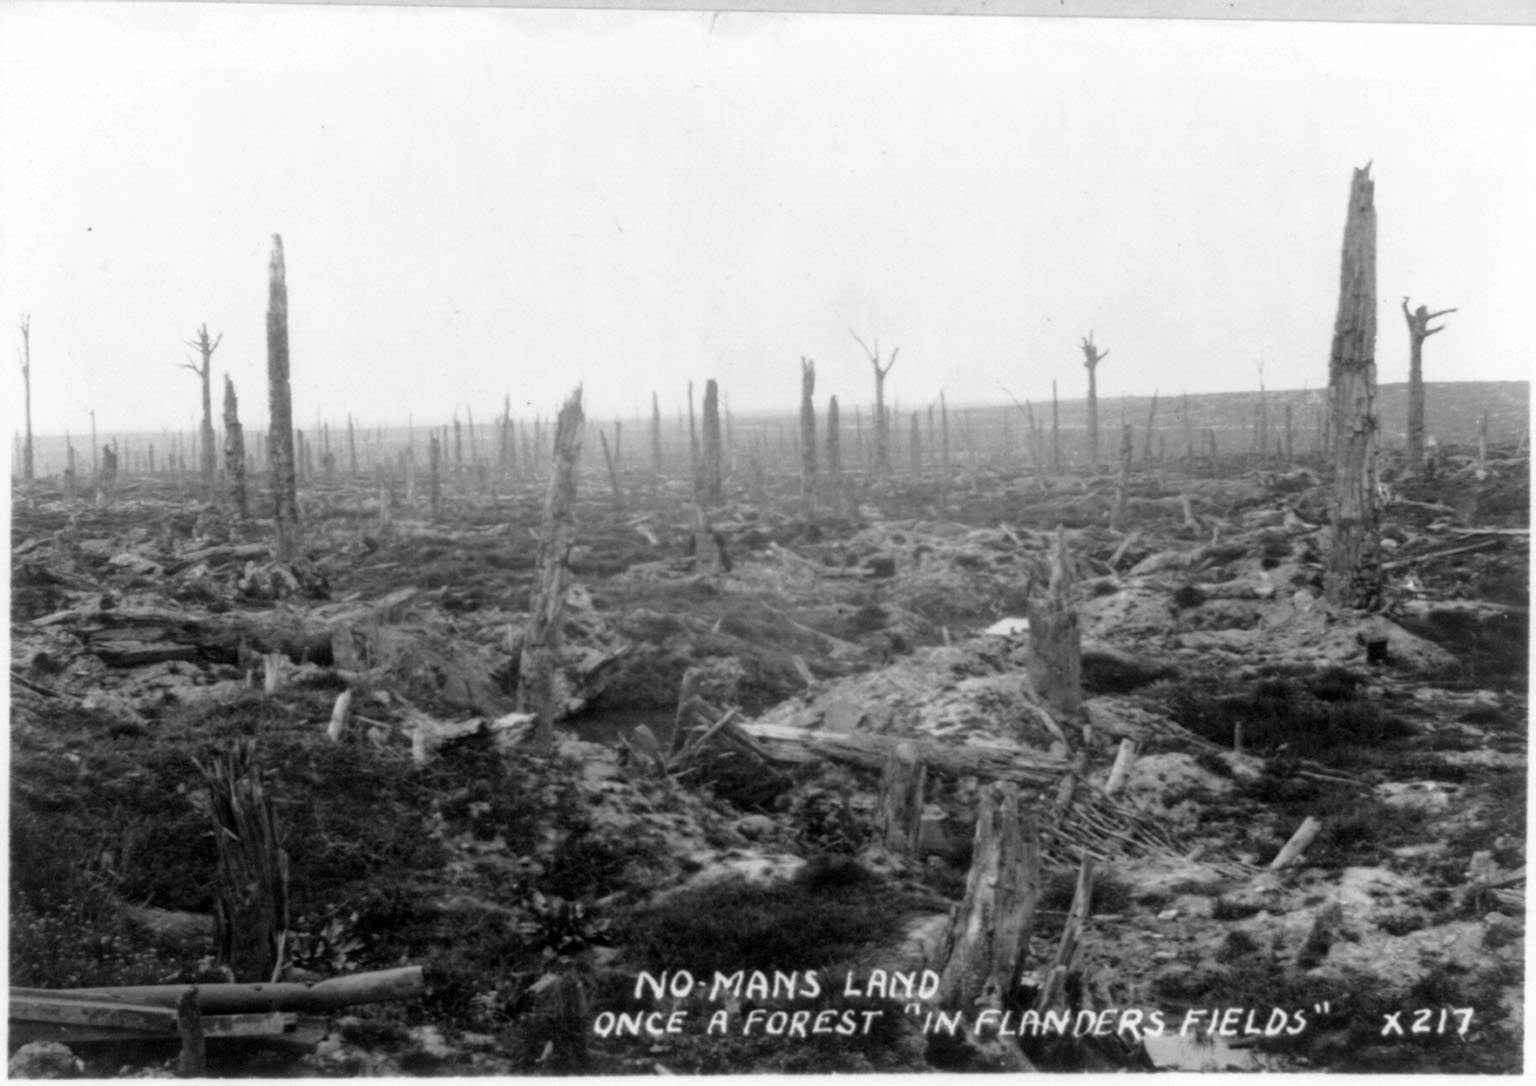
- A print out of a picture of the trenches from WW1
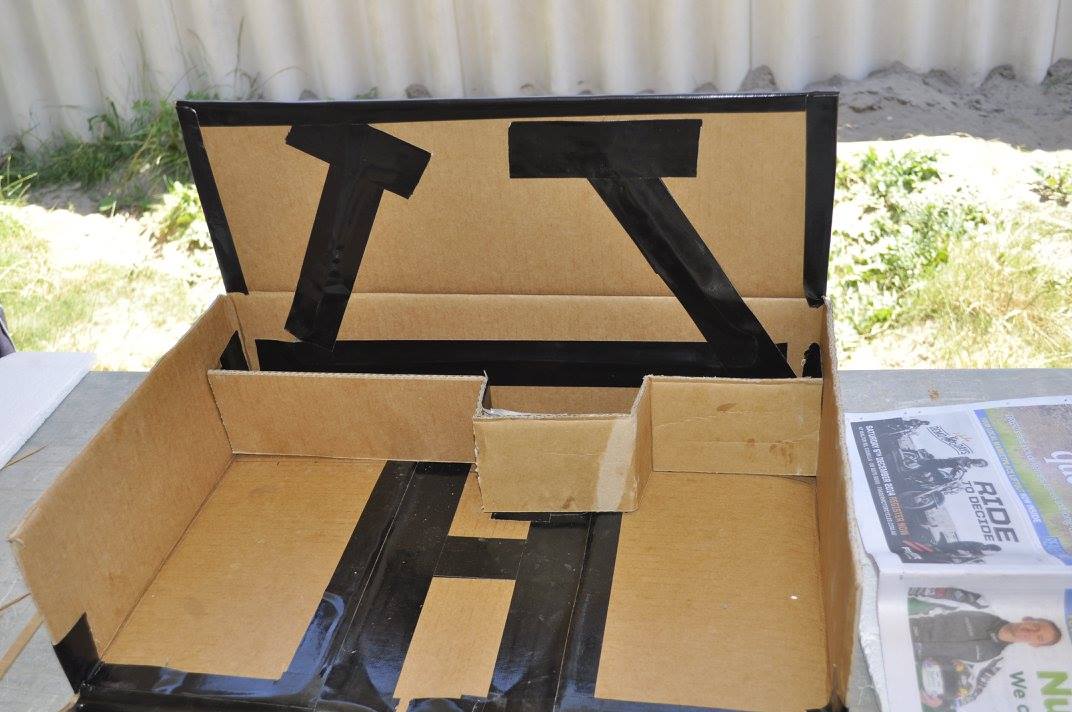
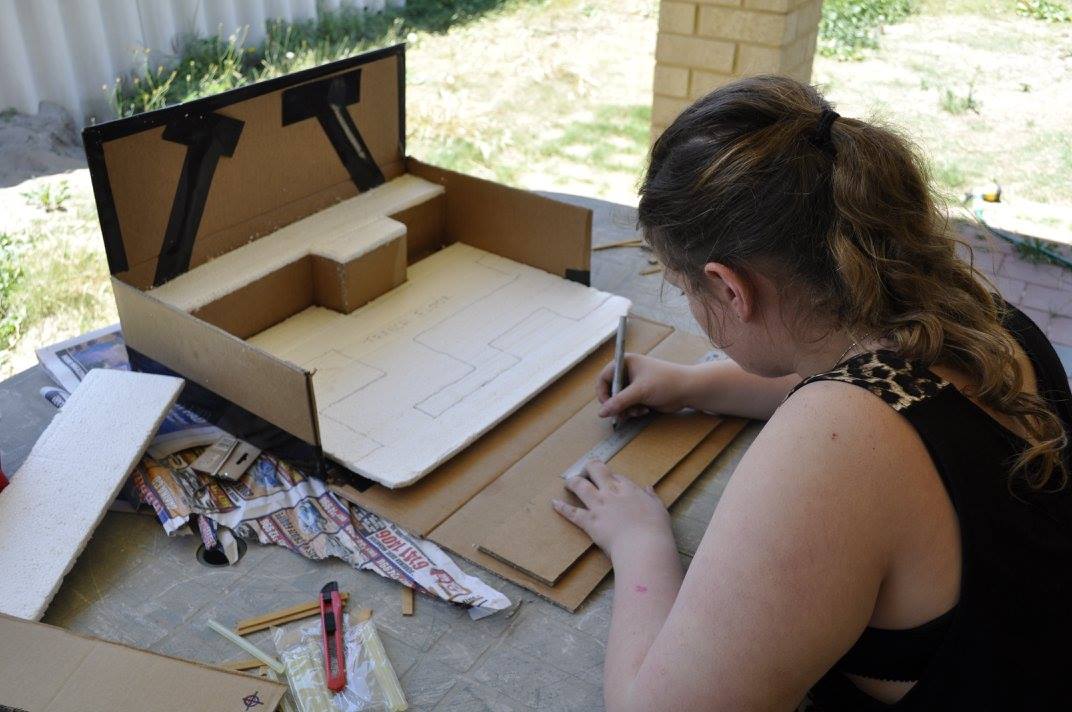
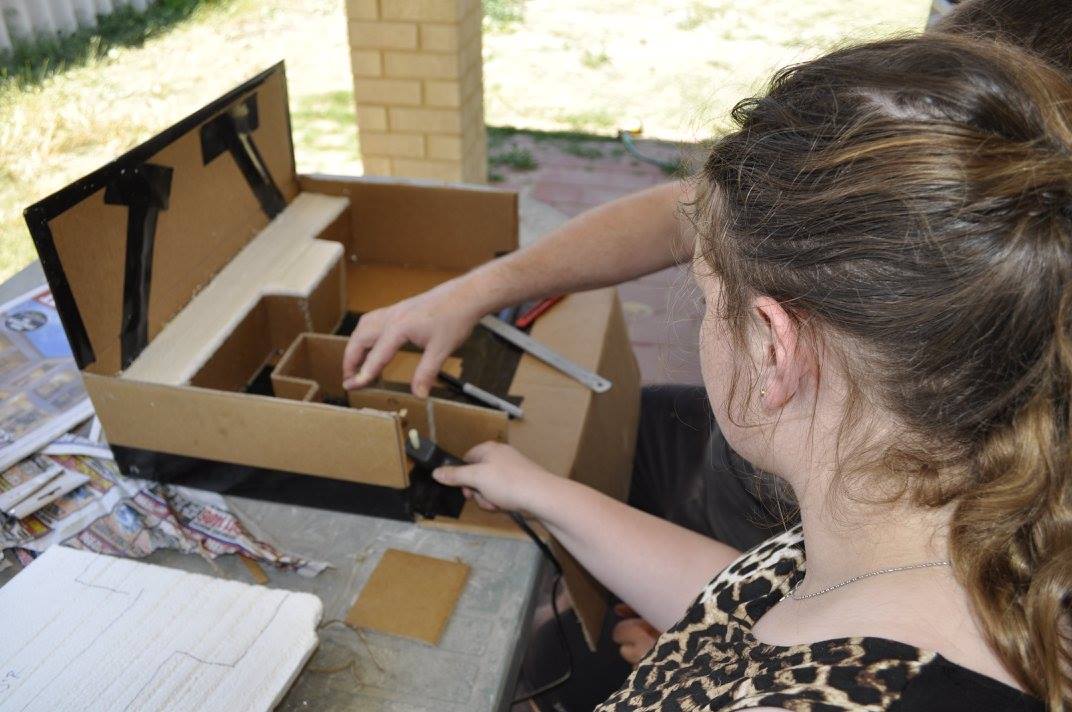
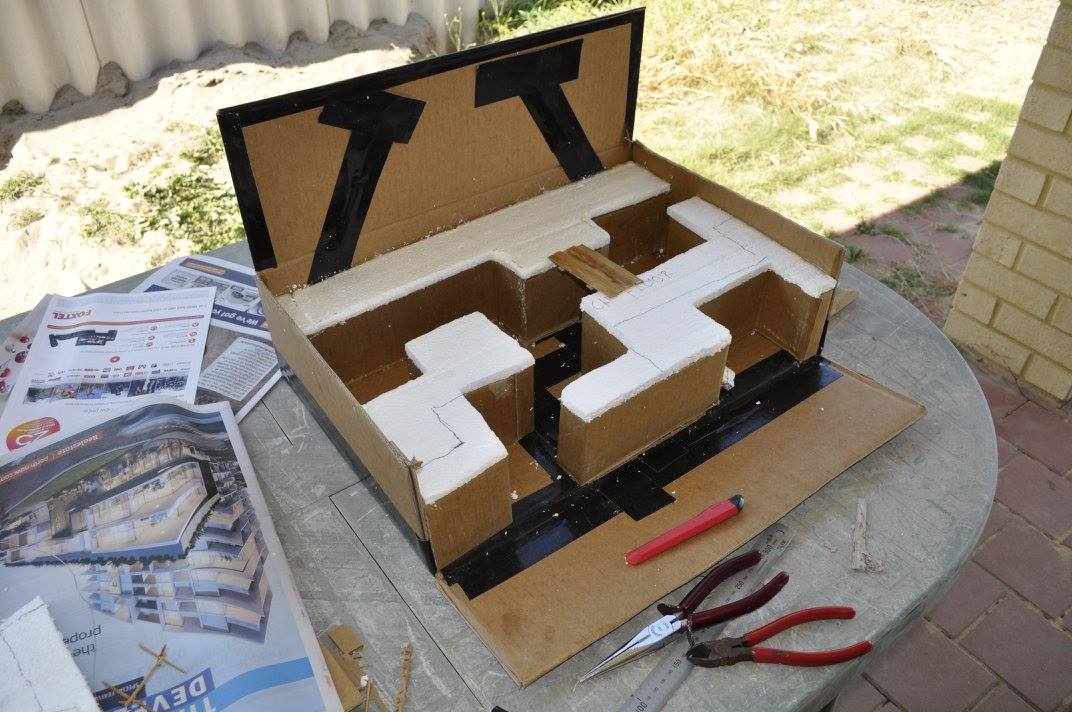
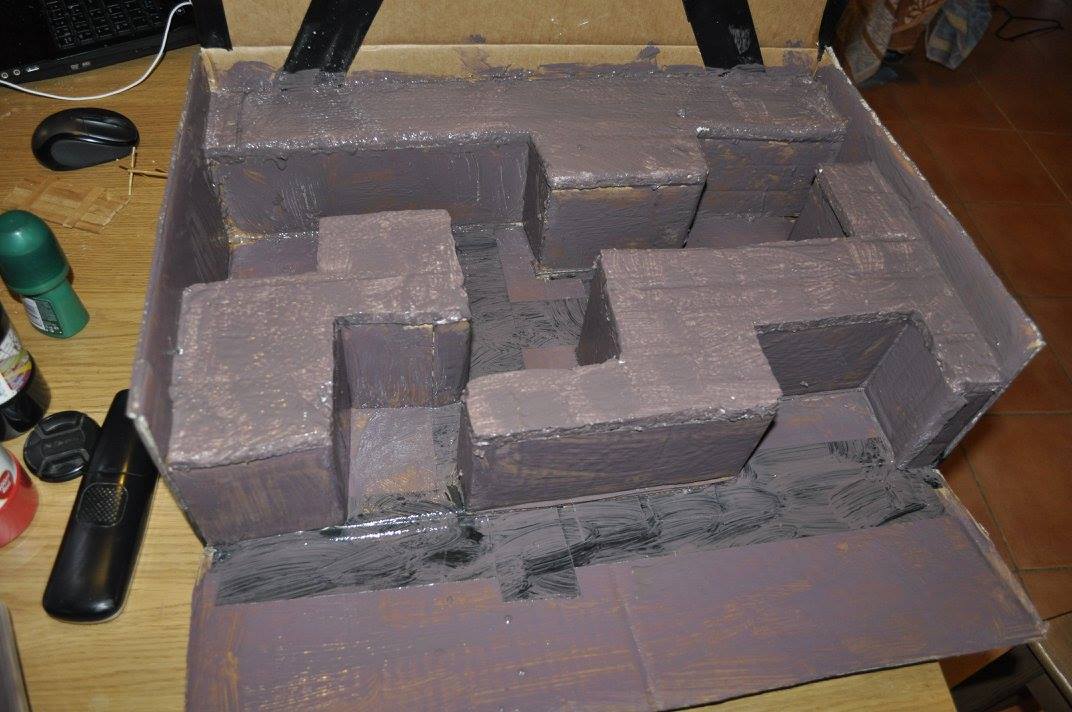
The Plans
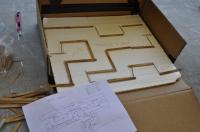
Draw up some plans on paper to the approximate size of the box you have. Place some styrofoam onto the bottom of the box to measure for size - remove for later. This will go on top of the trenches later.

Credits
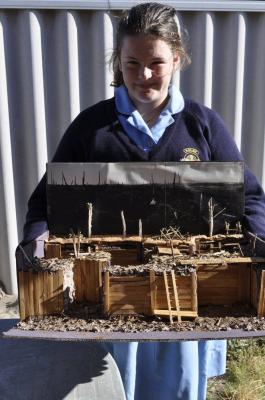
This school project was created by some very creative people including, Maree, Kerry and Miss K. Their imagination and dedication are evident in this tutorial. They kindly gave me permission to reproduce their photos with instructions to help other kids create very educational school projects.
Any feedback, please feel free to email me at david@icbm.com.au